

The pre-drywall walkthrough is more than a tour of exposed studs and wiring, it’s your chance as a construction manager to lead with professionalism, educate with confidence, and make the customer feel excited and assured. When done right, this moment builds trust, strengthens relationships, and showcases the craftsmanship that sets your homes apart.
Before the Meeting: Set the Stage For Success
The pre-drywall walkthrough doesn’t start when the customer walks through the door—it starts with preparation. A clean home, thoughtful details, and proactive communication all set the tone for a professional, confidence-building experience.
1. Clean the Canvas:
The walkthrough starts before the customer even steps on-site. Ensure the interior and exterior of the home are clean and presentable. No one wants to tour their future dream home with muddy footprints or scattered debris.
2. Dress for the Brand You Represent:
Wear clean, branded attire. You are the brand ambassador, look the part! A sharp presentation sends a message of professionalism and pride.
3. Punch with Purpose:
Use spray paint and markers to flag any issues before the walkthrough. Clearly indicate both the concern and the resolution. Showing your proactive quality control gives customers confidence in your attention to detail.
4. Paperwork = Peace of Mind:
Neatly display current sales paperwork and ‘Approved’ inspection stickers on a window. It reassures the customer that milestones are being met and the home is progressing by the book.
During the Meeting: Own the Moment
This is your time to shine. A well-led walkthrough builds trust, showcases expertise, and makes the customer feel seen, heard, and valued. Stay focused, guide the experience with purpose, and make every detail count.
5. First Impressions Start at the Street:
Greet them with a warm smile and a positive attitude before they even get to the door. Enthusiasm is contagious.
6. Personalize the Experience:
Know your homeowners. Use insights from the sales team: family, career, hobbies, to connect on a human level. Make it their home, not just a job site.
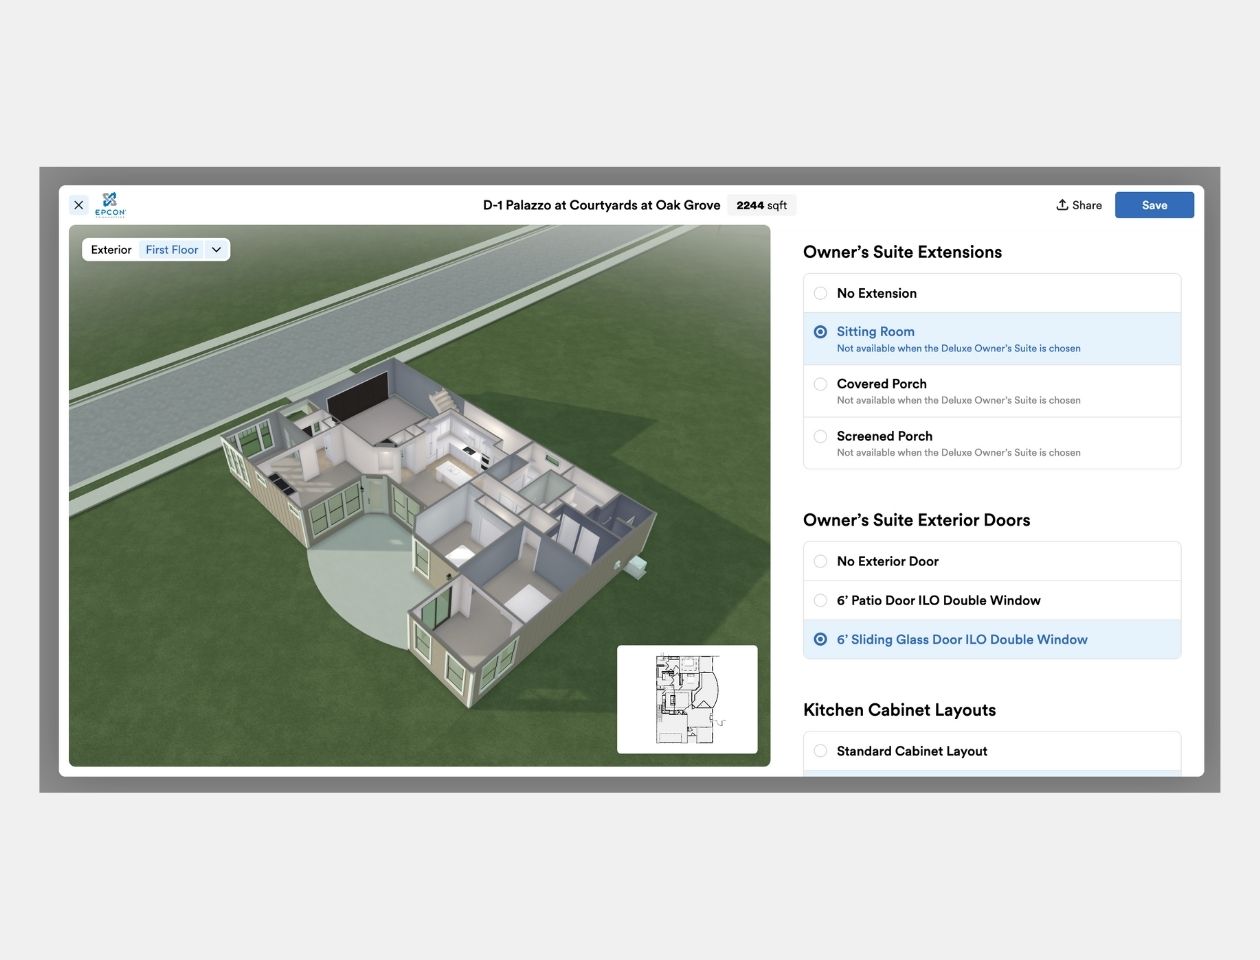
7. Bring the Home to Life with Tech:
Use a tablet to walk them through plans, orientation, and features. Visual aids, like Higharc Showroom, enhance understanding and add polish to your presentation.
8. Spotlight QA/QC Excellence:
Point out issues you previously flagged and show how they were addressed. It sends the clear message: “I’ve got your back.”
9. Educate with Purpose:
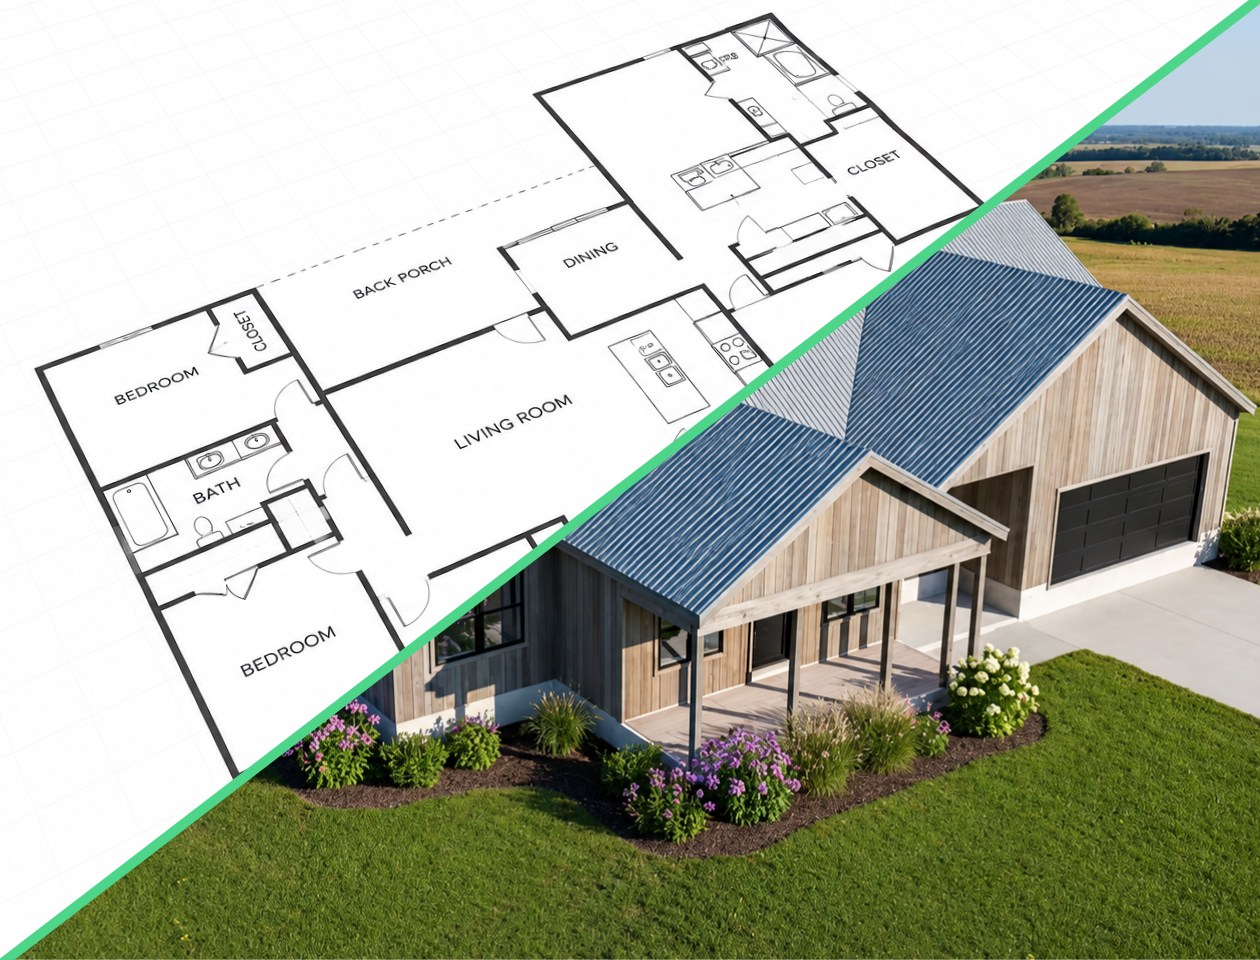
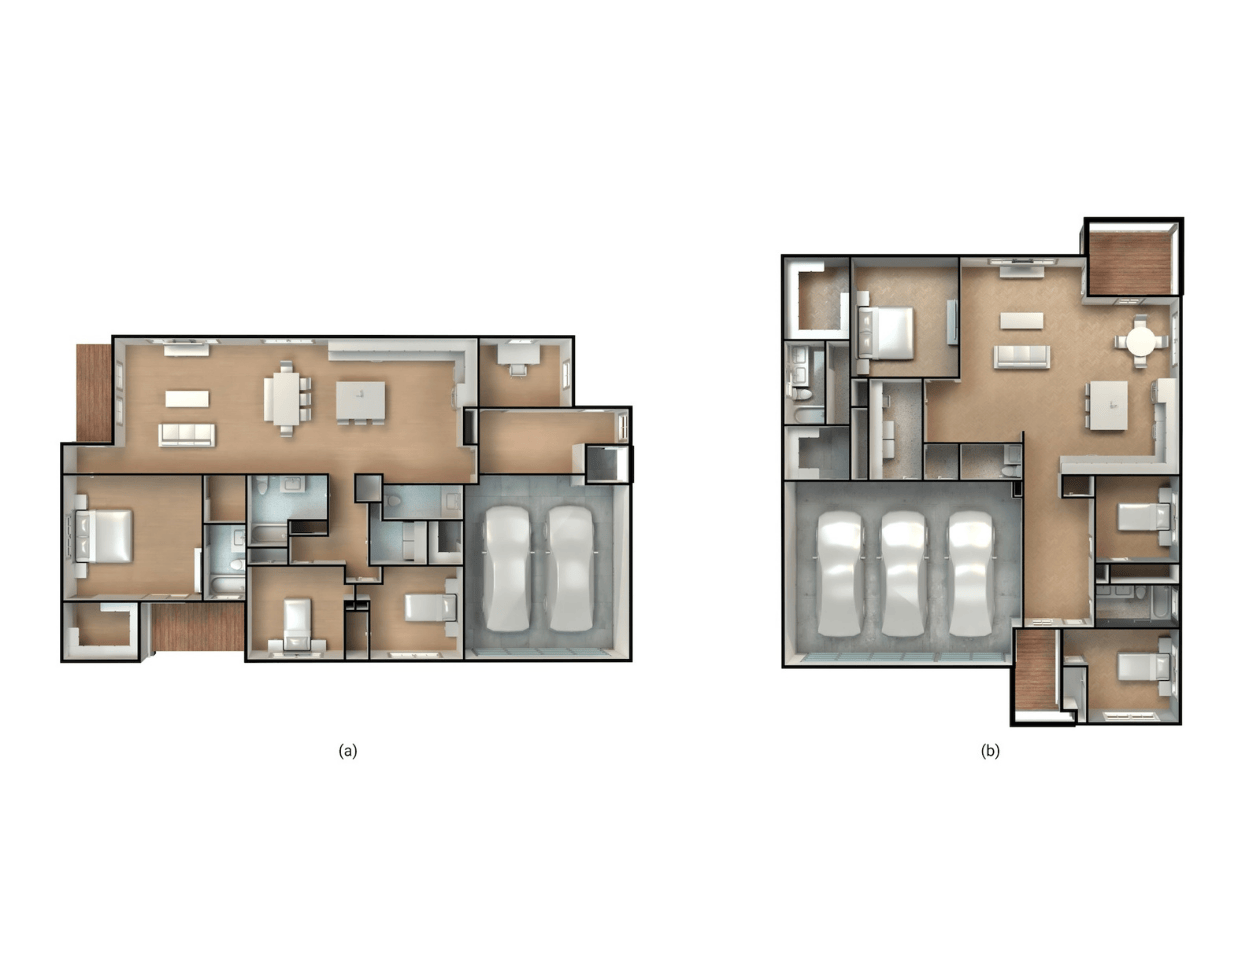
Demystify the framing, MEPs (mechanical, electrical, plumbing), and structure. Help them understand the bones of their home and the craftsmanship behind it.
10. Be the Expert They Trust:
Position yourself as the go-to resource for all things homebuilding. Speak with clarity and authority, but never arrogance.
11. Reveal Hidden Value:
Behind the walls lies value: energy efficiency, tech infrastructure, top-notch materials. Show them what they can’t see post-drywall.
12. Resell the Lifestyle:
Reinforce their choice by highlighting the community, nearby amenities, and long-term benefits. Help them feel proud and excited.
13. Deliver Extra Value:
Offer maintenance tips, home ideas, and what to take photos of for future reference. These little touches matter.
14. Celebrate the Trades:
Talk up the craftsmanship of your trades, celebrate their skills, don’t criticize. Build respect for the process and the people behind the scenes.
15. Lead with Confidence:
Guide the tour. Don’t let the customer wander. Keep the pace, stay engaging, and manage their attention span.
16. Add a Surprise Element:
Invite a guest expert (like a key trade partner) to add depth and variety. Just ensure it’s scheduled and polished.
17. Teach a Fun Fact:
Share a quirky construction tidbit they’ll remember, “Did you know the average home has over 3,000 nails in the framing?” Trivia-worthy fun leaves an impression.
After the Meeting: Build On the Momentum
Don’t let the impact fade once the tour ends. A thoughtful follow-up keeps the momentum going, reinforces trust, and turns a good walkthrough into a great customer relationship.
18. Seal the Memory:
Leave them with a branded takeaway: sticker, hat, business card, or a small swag item. Something tangible to remember you by.
19. Create Accountability:
End the walkthrough with a simple, specific next step, like confirming a timeline update or sending a document. Then follow through. A small promise kept goes a long way toward building trust.
20. Send a Personalized Follow-Up Email
Follow up with a brief, personalized email that recaps what was covered, shares any helpful visuals or documents, and outlines next steps. It shows you're organized and committed to their experience.
Build the Relationship, Not Just the Home
Don’t rush the process. This walkthrough is not a box to check, it’s a celebration of progress and partnership. When done right, you leave your homeowners with more than just a tour. You give them confidence, clarity, and connection. So go out there, lead with heart and hustle, and make every walkthrough an experience worth remembering.
Ed Kubiak
Homebuilding Professional | Industry Innovator
This is Part 3 of our 4-part Construction Management 101 series. If you missed the earlier posts, catch up here:
Part 1: Words of Wisdom for the Next Generation of Construction Managers
Part 2: Providing a World-Class Customer Experience: The Pre-Construction Meeting
See Higharc in action
Discover how Higharc can empower your team to conquer change, modernize your buyer experience, and decrease cycle times.
Book a demo
.png)


.png)
%20(1260%20x%20960%20px).jpg)


.png)


.jpg)


%20(1260%20x%20960%20px).jpg)

.jpg)

.jpg)


